Only logged in customers who have purchased this product may leave a review.
Specifications
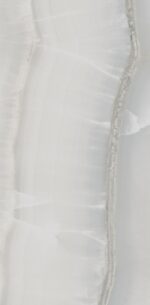
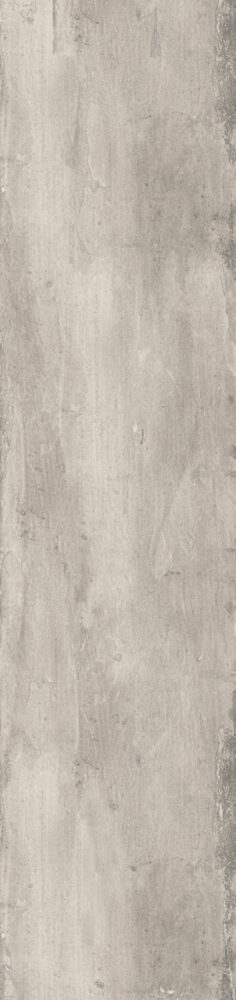
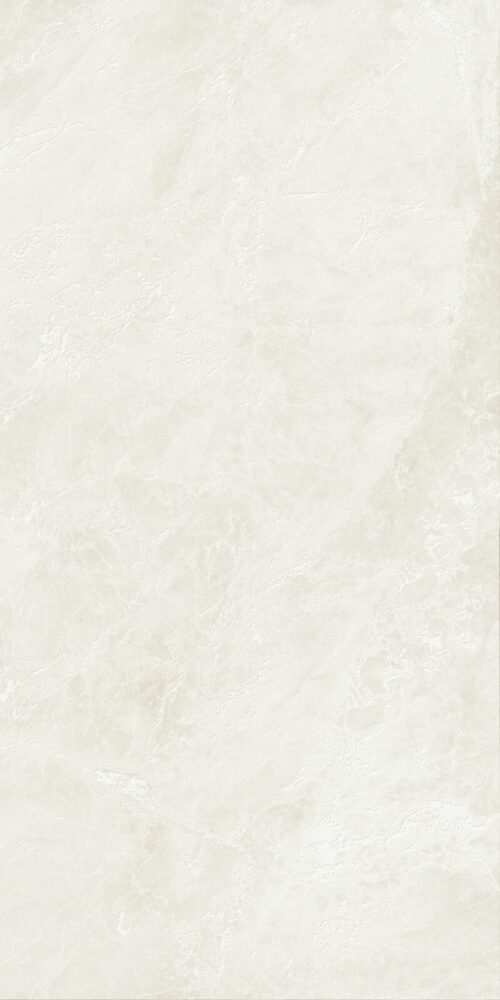
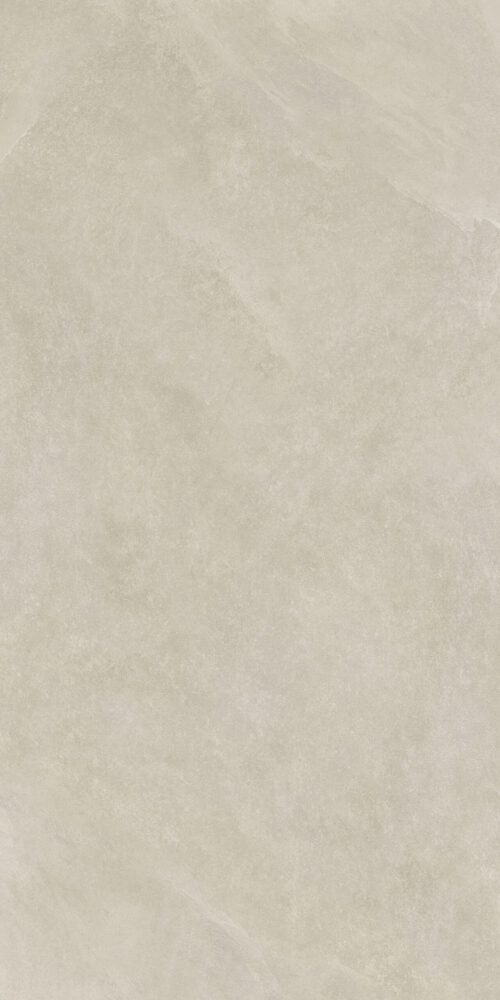
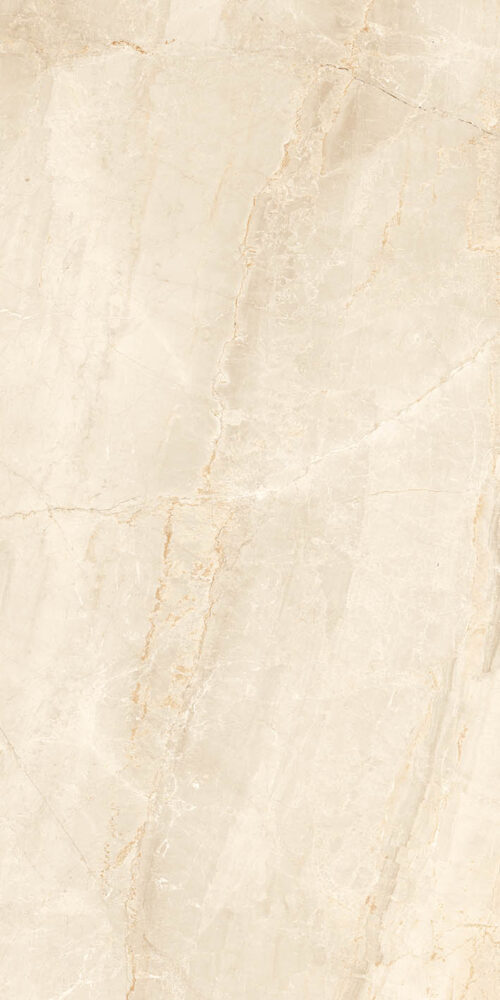
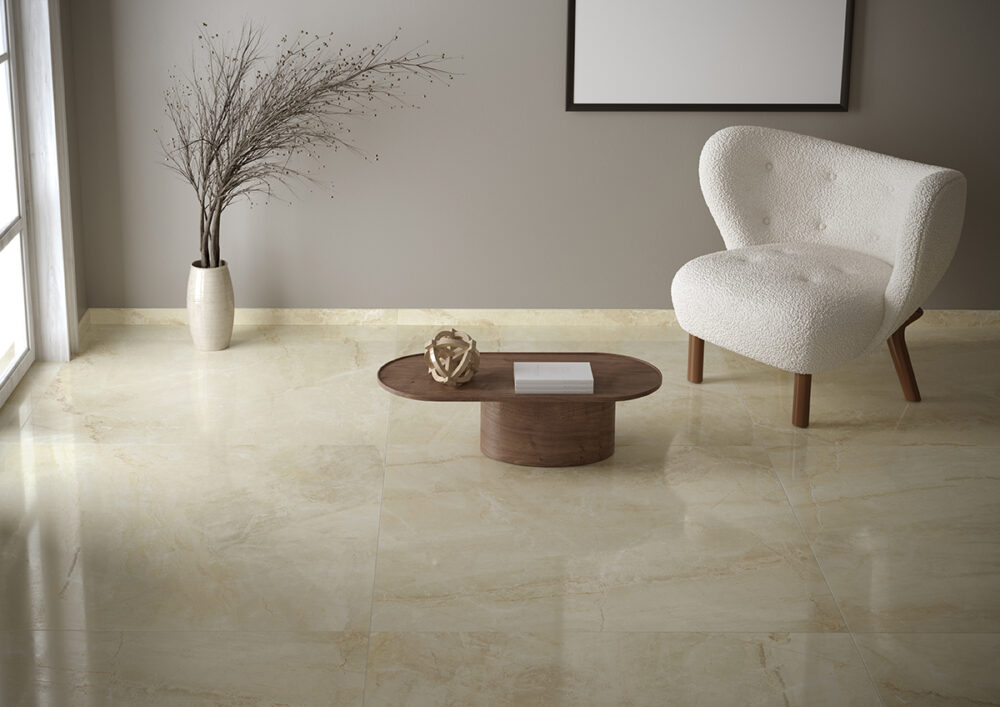
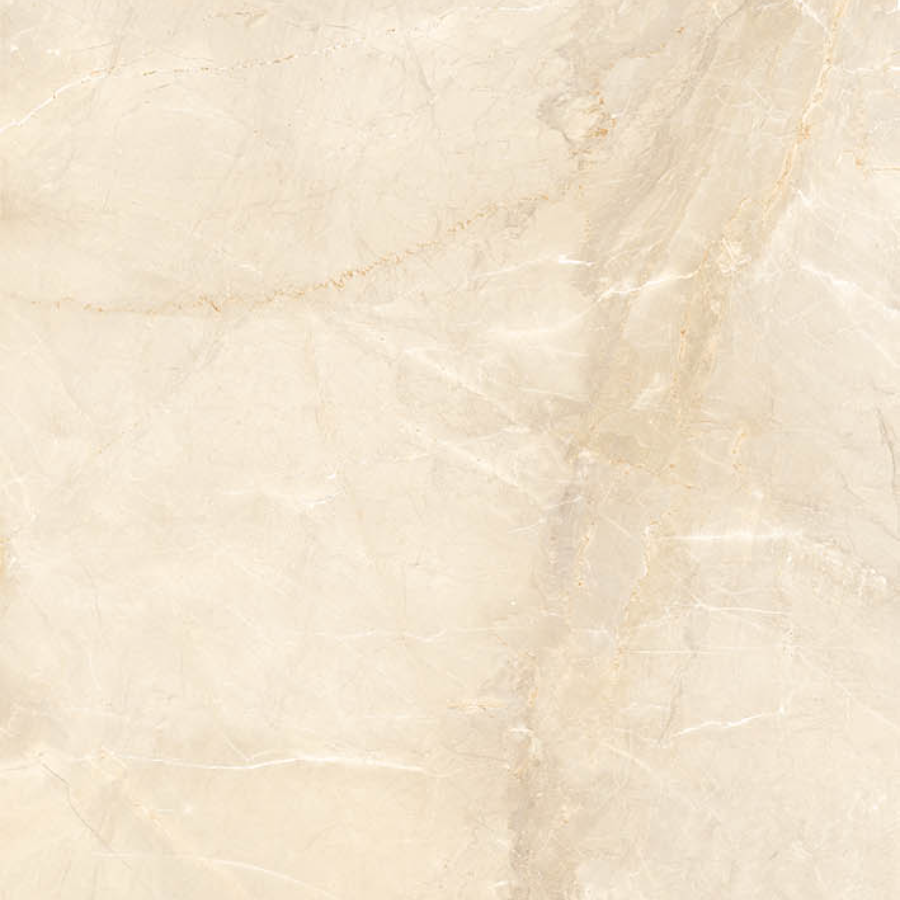
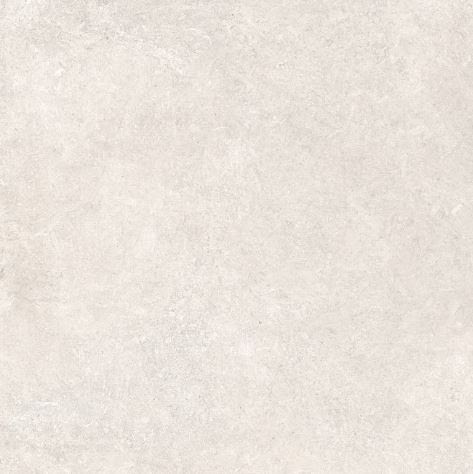
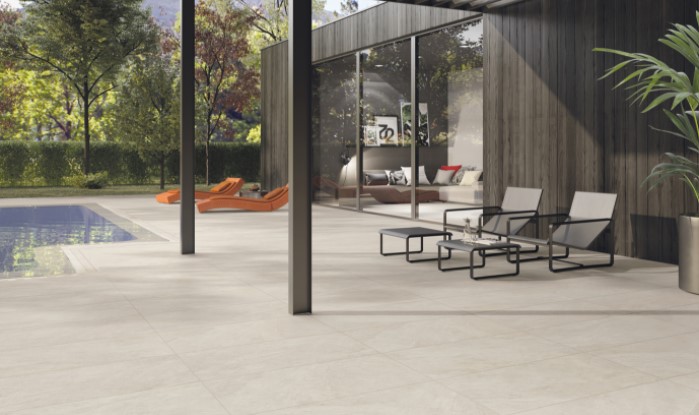
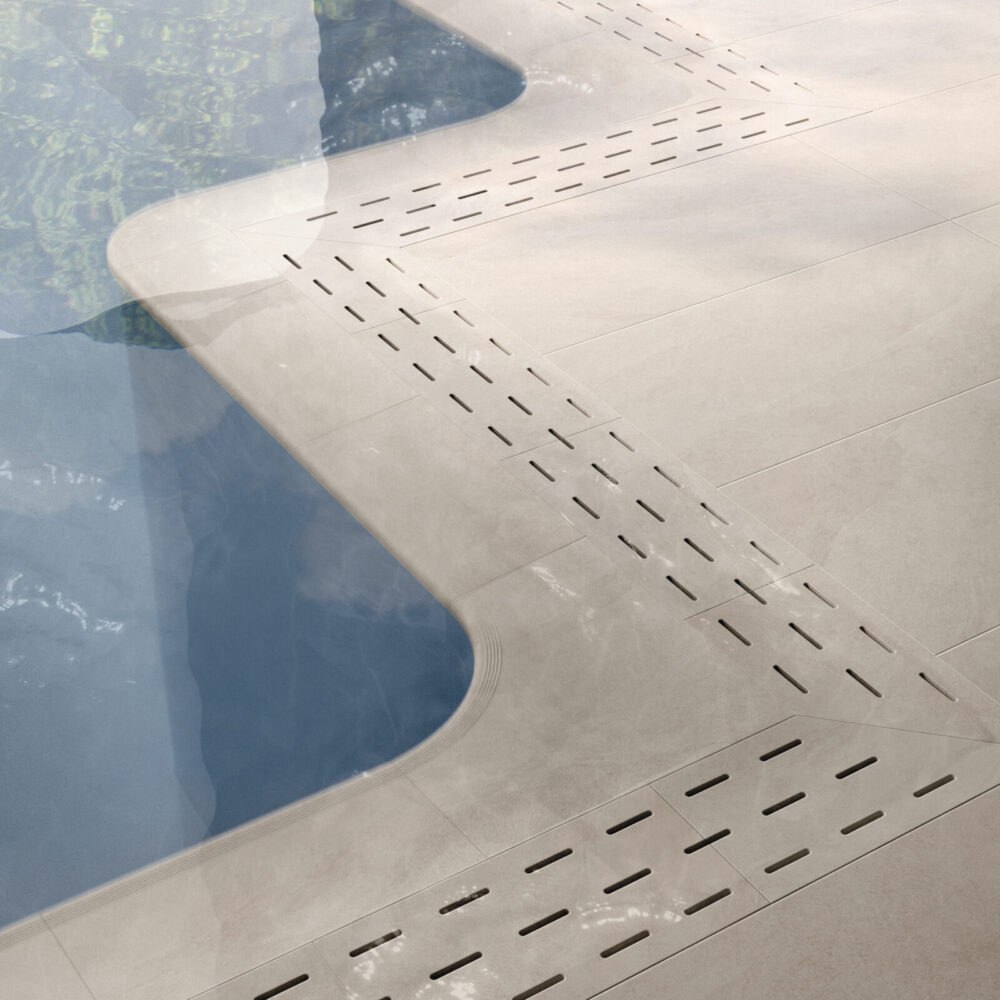
Name Detail: Porcelain Tile
Product Type: Tile
Shape: Rectangular
Pieces per Box: 7
Shade Variation: V2
Material: Porcelain
Material Type: Field Tile
Color: Grey
Coverage (Sq.Ft): 2.00
Boxes per Pallet: 40
Water Absorption: < 0.2%
Style: Onyx Look
Size: 12" x 24"
Finish: Matte
Thickness: 10 mm
Sq.Ft per Box: 13.56
Weight per Box (lbs): 55
Q&A
1. What is the size and thickness of this tile?
Every tile page includes detailed size, thickness, and coverage information in the “Specifications” section. Please check the product description for exact dimensions.
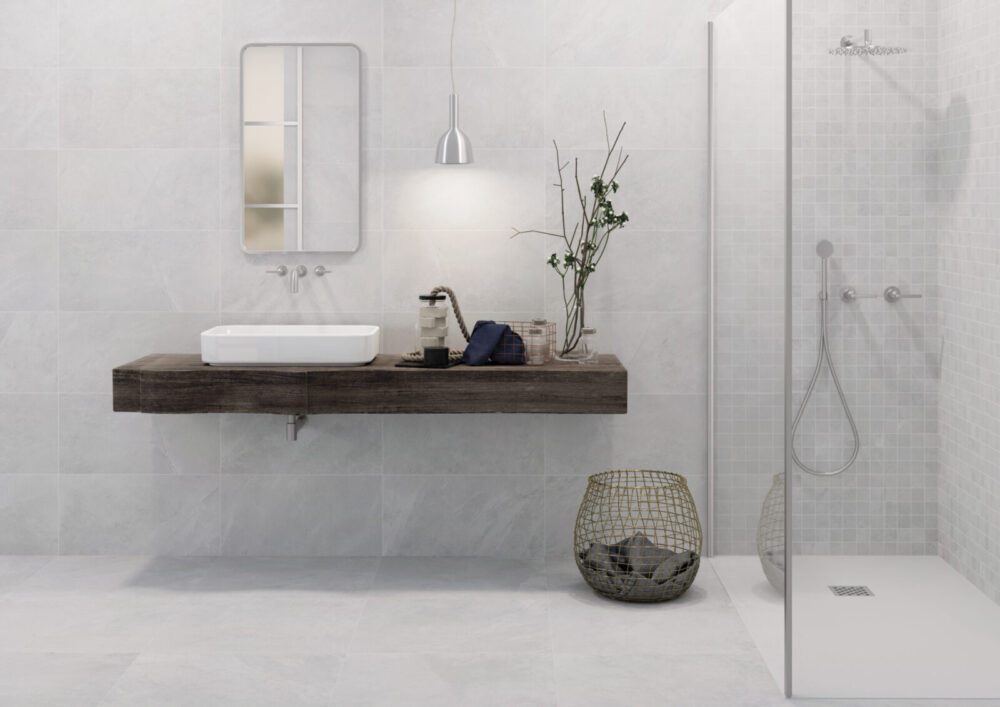
2. Is this tile suitable for bathroom, kitchen, and outdoor use?
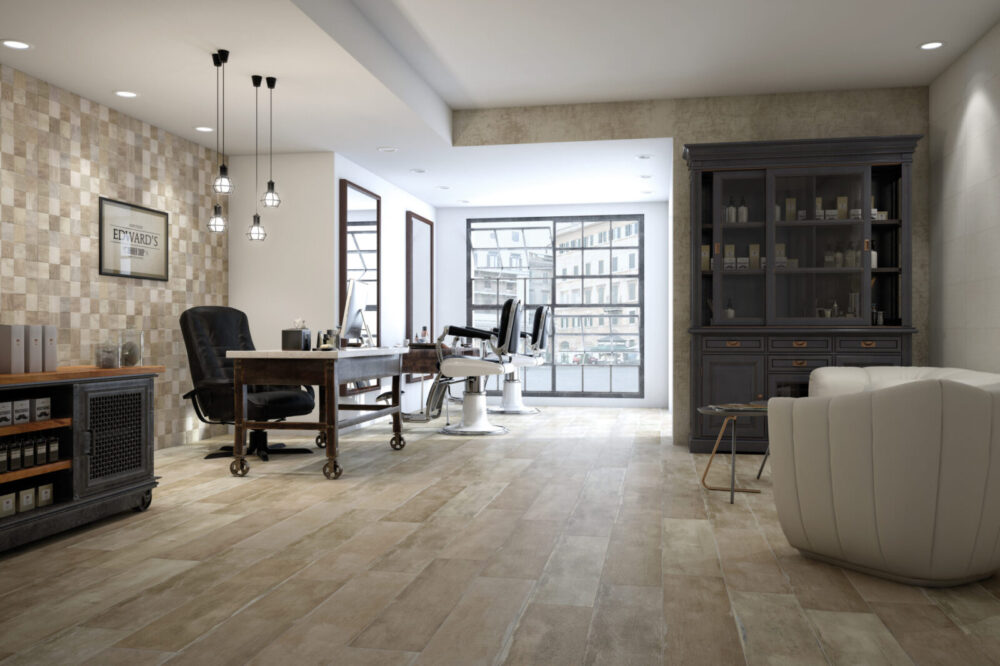
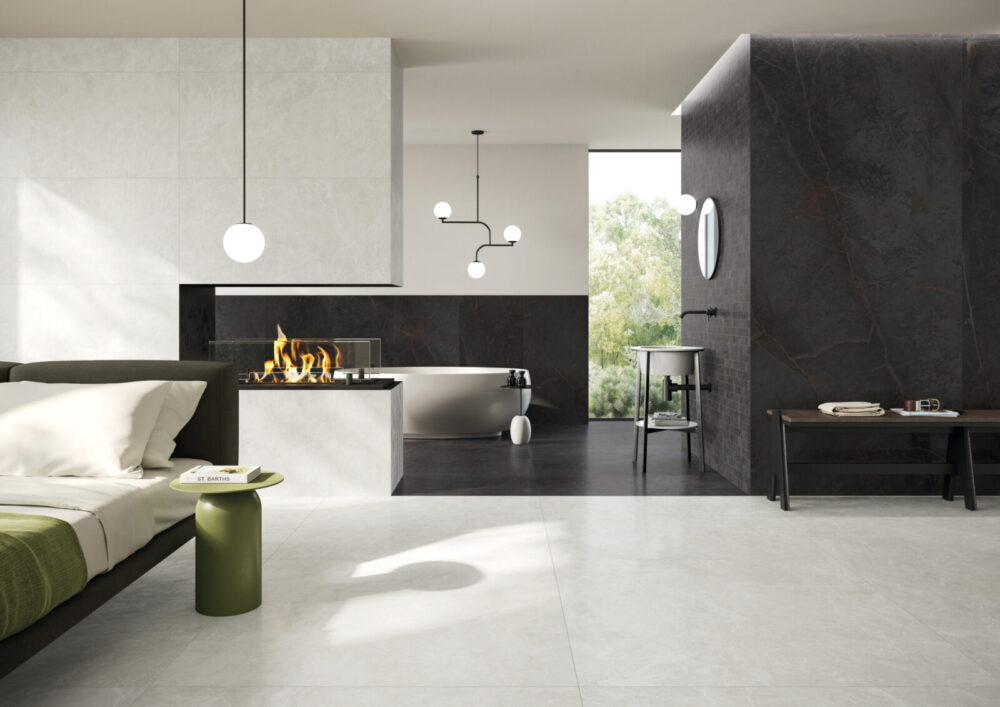
Yes! Each tile clearly mentions Application / Room suitability—such as Bathroom, Kitchen, Shower Wall, Outdoor, Pool, etc. Always verify the recommended application mentioned on the product page.
3. Can I order a sample before buying the full quantity?
Absolutely! TileMode offers Paid Samples so you can see the color, texture, and finish in person before placing a large order.
4. How many tiles do I need for my room?
Use our Tile Coverage Calculator (on the product page) to estimate how many boxes or sq.ft. you need based on your room’s dimensions. We always recommend adding 10% extra for cuts and waste.
5. What is the difference between price per box and price per sq.ft.?
Some tiles are sold per sq.ft.
Some tiles are sold per box (box includes multiple pieces). Each product page will clearly show whether the price is /sq.ft. or /box.
6. Are the product photos accurate to real color?
We try to show true-to-life images, including installation photos. However, color may vary slightly due to lighting and screen settings. Sample order is recommended for exact color matching.
Installation
Tile Installation Guide
For the best results and long-lasting performance, we recommend installing your tile with professional techniques and high-quality materials. Follow the steps below to ensure a clean, durable, and safe installation.
1. Surface Preparation
Ensure the surface is clean, dry, level, and structurally sound.
Remove dust, grease, old adhesive, paint, or loose materials.
For wet areas (bathroom, shower), use a waterproofing membrane.
2. Layout Planning
Measure the area carefully and plan the tile layout before installation.
Dry-lay tiles to check color variation, pattern direction, and spacing.
Allow a 10% extra quantity for cuts and waste.
3. Adhesive Application
Use the recommended thin-set mortar or tile adhesive suitable for the tile type (ceramic/porcelain/natural stone).
Apply adhesive evenly using a notched trowel.
Install tiles within the open time of the adhesive.
4. Tile Placement
Place tiles firmly and evenly, maintaining consistent grout lines using spacers.
Check level frequently to avoid uneven surfaces.
For large format tiles, back-buttering may be required for maximum adhesion.
5. Cutting Tiles
Use a tile cutter, wet saw, or angle grinder depending on tile thickness and material.
Always wear safety gear when cutting.
6. Grouting
Allow adhesive to cure as per manufacturer guidelines.
Apply grout using a rubber float, filling all joints.
Remove excess grout with a damp sponge.
Use stain-resistant or waterproof grout for wet areas.
7. Sealing (If Required)
Most porcelain and ceramic tiles do not require sealing.
Natural stone or unglazed tiles may need a penetrating sealer.
Always check the product specifications.
8. Final Cleaning
After grout cures, clean the surface with a neutral pH tile cleaner.
Avoid harsh chemicals or acidic cleaners unless recommended.
9. Installation Tips
Follow all local building codes.
Use products from trusted brands only.
Professional installation is recommended for best results and warranty protection.


Reviews
There are no reviews yet.